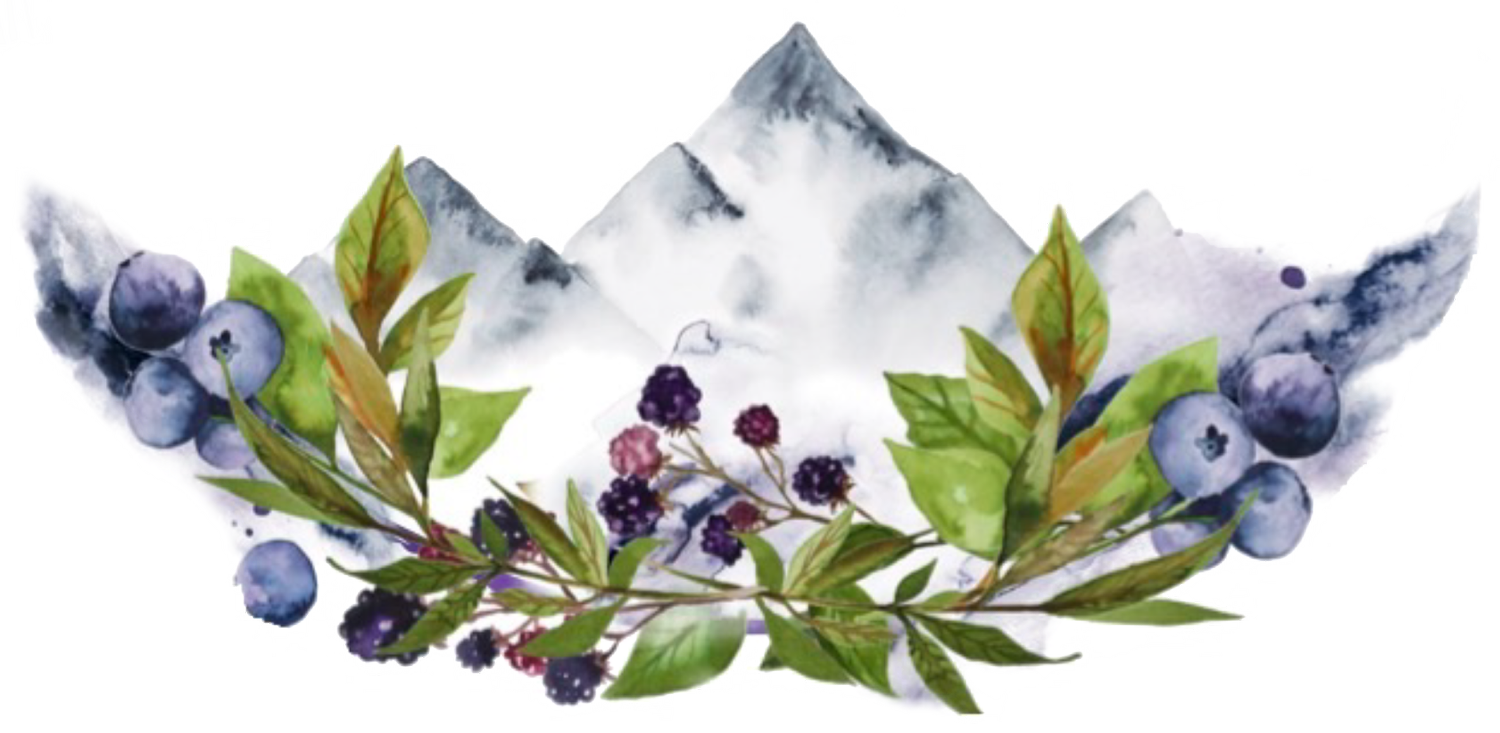
4 Herb Drying Methods
Preserving Your Harvest
Knowing how to dry and store our fresh harvested herbs is very important. Whether you don't have time to use them fresh or you plan to use them dried, we will cover many ways to dry and store your herbs for long term use.
First we should discuss the effectiveness of herbs over time. If you are harvesting from your garden, wildcrafting or purchasing fresh from a farm, you know when they were harvested. You can see they were harvested at peak condition, that they are healthy and vibrant, and you can choose your preferred method to preserve them. It is best to use our dried herbs within one year. After that, most of their potency is gone. A good rule of thumb is checking on their scent and color. Have you ever opened a jar of herbs and it doesn't smell like anything? Is your lavender grey now? These are signs that they are past their prime.
This is also an issue when you order dried herbs. You don't know how long ago they were harvested and how long they have been sitting. By investigating their smell and color, you can roughly determine if they are still good.

Now let's talk about different methods to dry your harvest!
Sun Dry- It sounds self-explanatory but there are a few things to take into consideration. The first thing is is it too hot or too humid? Typically this method is performed by laying your herbs on a screen or table outside in the sun. If it is too hot, it could burn your fragile plant matter. If it's too humid outside it could make drying your harvest much more difficult. You also have to take into consideration if it's windy and the type pf plant material. Berries and
Drying rack- This is my preferred method of drying leafy and floral plant material. There are many different types of drying racks. I have a mesh hanging drying rack but you can also make your own with a fine netting or a stack of window screens. This is normally done inside, in a room with good air circulation. There are many factors on timing but I typically leave my plant material to dry for at least a week. If it is a heavy batch, I will manually flip them every few days. This is a great method for leaves and flowers but not ideal for berries and mushrooms.
Dehydrator or oven- This method uses very low heat to dry the plant material. A dehydrator tends to end in a more consistent dryness level than an oven but it's entirely achievable. You can dry leaves and flowers in this way but it really shines when it comes to more water-dense materials such as berries and mushrooms. Typically the oven or dehydrator temperature is under 150F and it takes roughly 6-8 hours, depending on how water-logged the material is. This is also a great method for fruits such as lemon and orange slices or even just the peels. Be careful to not turn it up too high or dehydrate for too long as you run the risk of burning your plant material.
Hang Drying- This is one of the most popular folk methods. We have all seen how beautiful hung flowers are and it's a convenient way if you don't have a lot of surface space. I recommend this method for small harvests or flowers you want to preserve their shape a bit. Keep the bundles small as larger bundles can be harder to dry with the bulkier centers.
After you dry your plant material, you can store them in a few different ways. You can leave them whole or powder them. If you are planning to use them soon, storing in a bag or jar is fine. If you need your herbs to last longer, I recommend using vacuum sealed bags and leaving them as whole as possible. This will ensure a fresher material to work with. No mater what method you use, keep them out of direct sun and in a temperature controlled environment.

In the end, you have to find the best method for you! Experiment and see what yields the best result. After all, that is what herbalism is all about.
Speaking of dried herbs, check out my line of loose leaf herbal teas!